DIY Aesthetic Embroidery
December 10, 2020
I feel like embroidering is a great quarantine hobby, so I want to show you guys how easy, fun and inexpensive it is. Although it is very easy, it is still time-consuming but helps to take things off your mind. You can even do this while binge-watching a show or movie.
Embroidery is really helpful when it comes to customizing your clothes to your own personal taste, and you can use your imagination just like sketching. I personally use this technique of customization, so I could recycle my clothes to look aesthetic and new. I’m going to demonstrate how to do some simple techniques and tricks to embroider.
Here are three ways to embroider, and I organized them from the least time-consuming to the most.
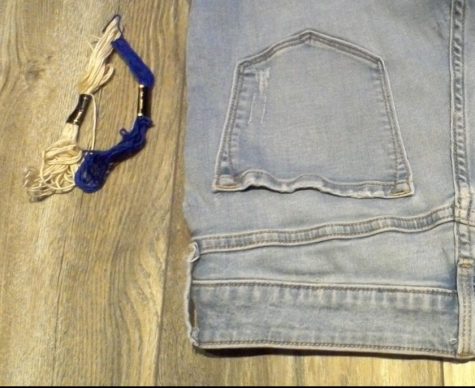
Essential materials: 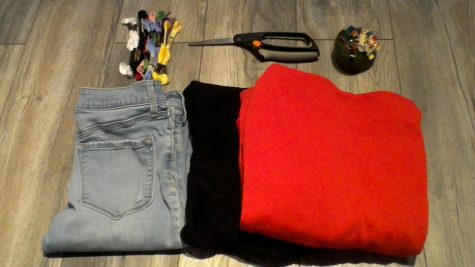
- Embroidery thread or in replacement would be a regular thread; however, you’ll need to double it up which will take a bit more time if you do.
- Needle
- Scissors
- Pencil, pen, washable marker or marker.
*Optional materials: 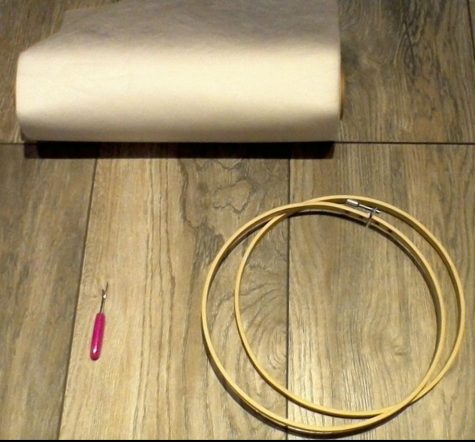
- Seam Ripper (correct your error)
- Embroidery Hoop (keeps the fabric taut)
- Fabric stabilizer (helps to transfer images and make your fabric stiff) or use a regular piece of paper.
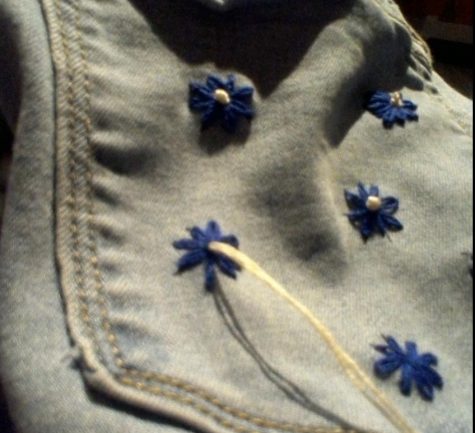
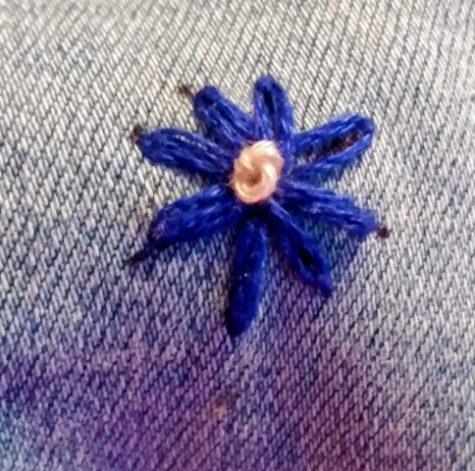
Lazy Daisy
Easy 3 to 5 minutes.
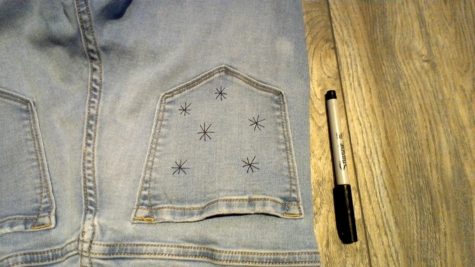
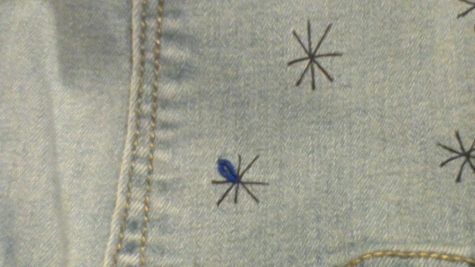
Step 1: Make sure your fabric is laid out flat.
Step 2: Draw four or three intersecting lines (looks like a snowflake.)
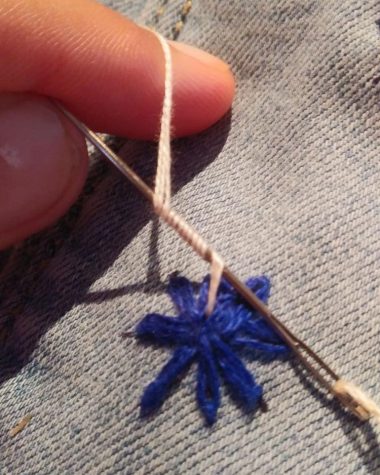
Step 3: From the bottom of your fabric, place the needle through the middle of the snowflake. Then you are going to come down right where you came up, but not all the way (making a loop).

Step 4: You are going to come up from the end of your stitch, which is the tip of one end of the snowflake. You’ll want to enter the needle right through that loop and pull gently so the loop is secured.
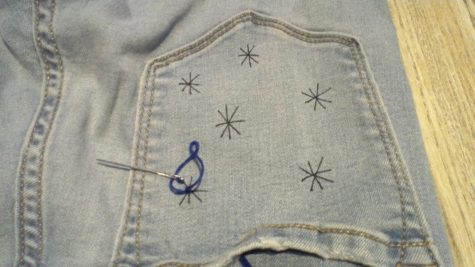

Step 5: Finally, you’ll make a tiny stitch on top to hold it in place. Repeat the process through your remaining 7 lines to make a lazy daisy!
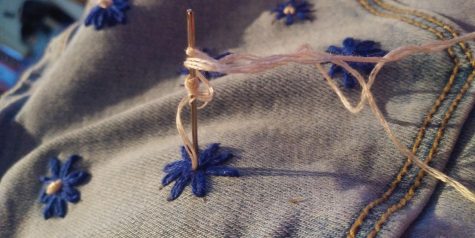
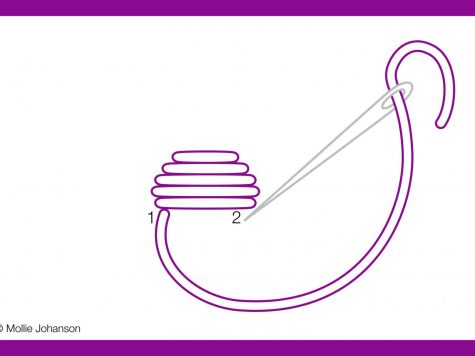
Step 6: In the center of the daisy, you’ll insert the needle from the bottom up. Then twist the bottom tread around the needle (not too tight) the more twists you make of thread the bigger the center of the daisy become.

Step 7: After you make the twists re enter the needle right where it came from.
Letter/Numbers.
Medium difficulty 5-20 minutes (depending on how on the size of your letter is.)
Step 1: Draw your letter or number on your fabric.
Step 2: I prefer doing a parallel stitch also known as Satin stitch which is easy and simple to do. You’re going to start at the corner of your letter or number from behind your fabric and enter your needle through the fabric.
Step 3: All you have to do is to make sure that when you are stitching it has to be straight and parallel or else is not going to look neat.

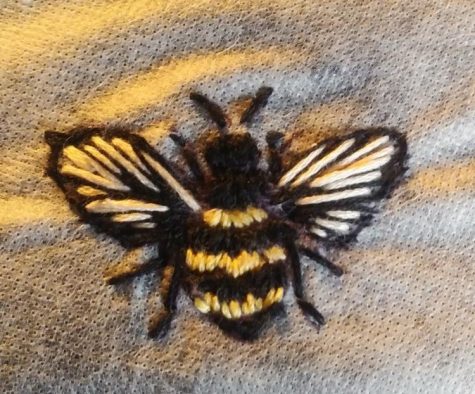
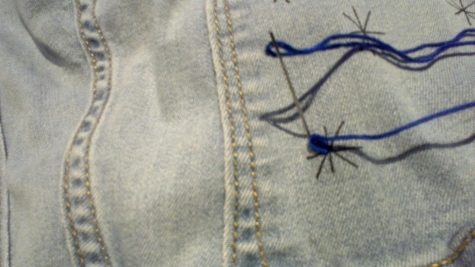
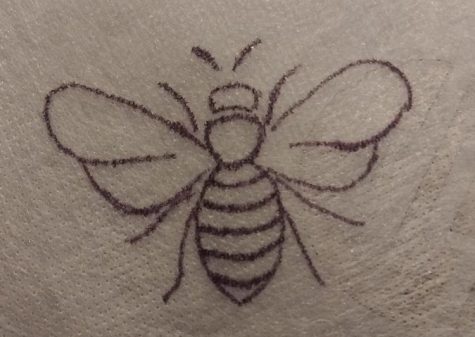
Bee
Medium difficulty 30 minutes.
Throughout this, you’ll use 35 inches of thread.
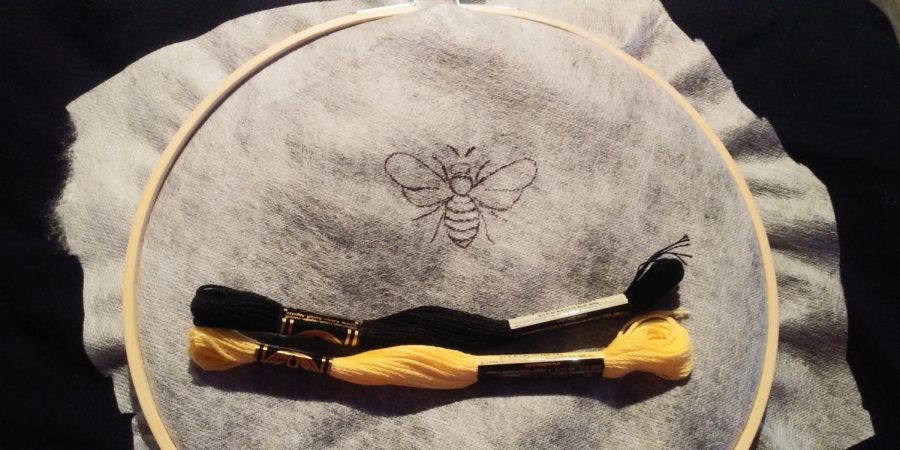
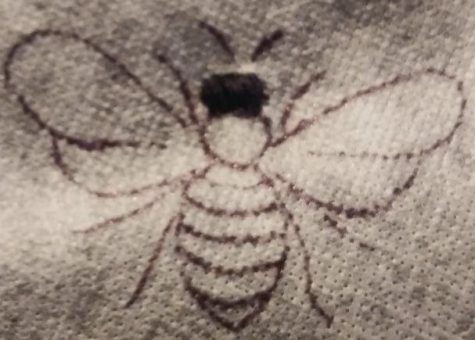
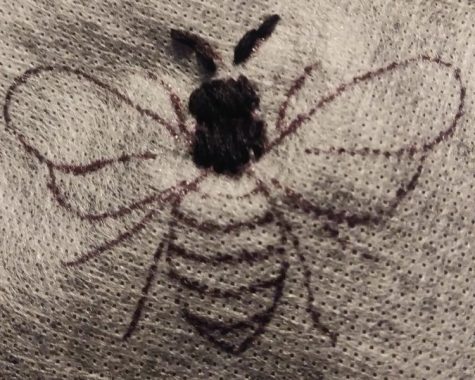
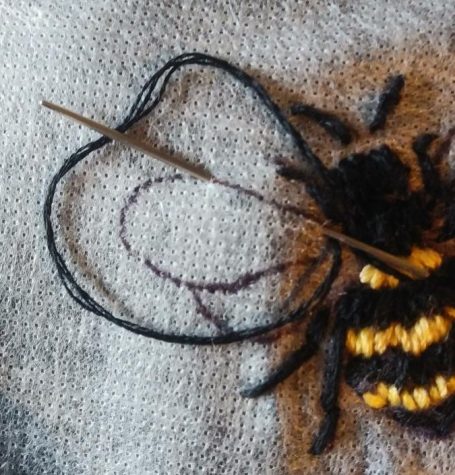
Step 1: Draw your bee design onto your fabric.
Step 2: Always start from the bottom up. Start with 35 inches of embroidery thread/floss; then begin doing a satin stitch on the head
. 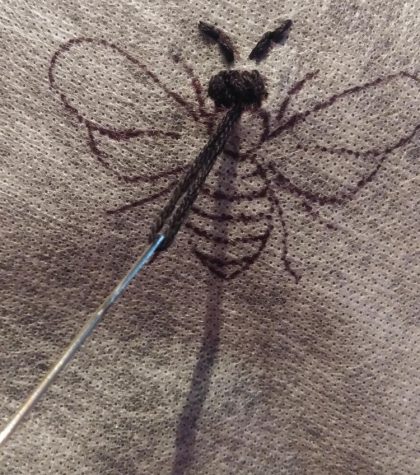
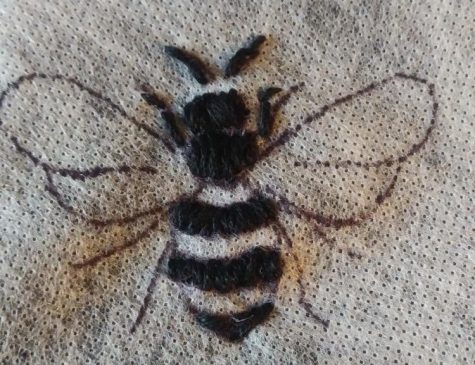
Step 3: After you finish the head, you’ll continue using the same thread for antennas.
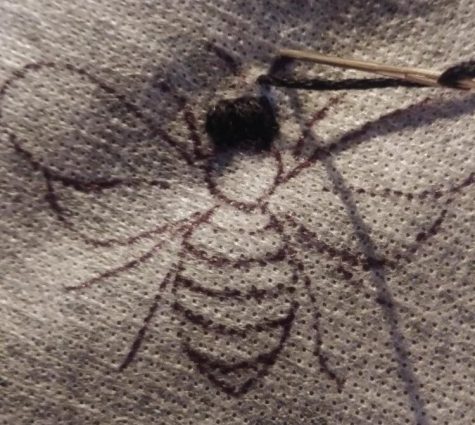
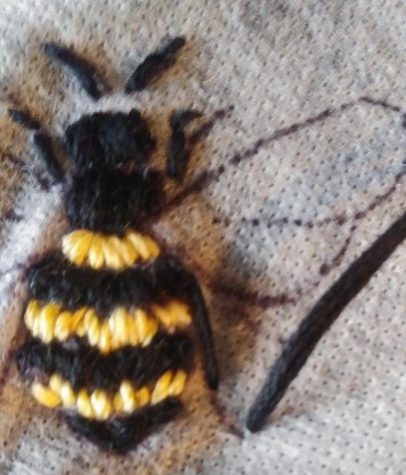
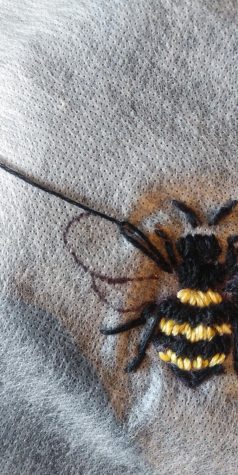
Step 4: Satin stitch on the center of the body and use back stitch for the front legs.
Step 5: Satin stitch the back and yellow stripes of the bee.
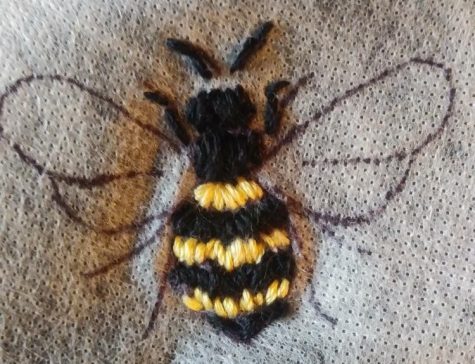
Step 6: Back stitch the back legs.
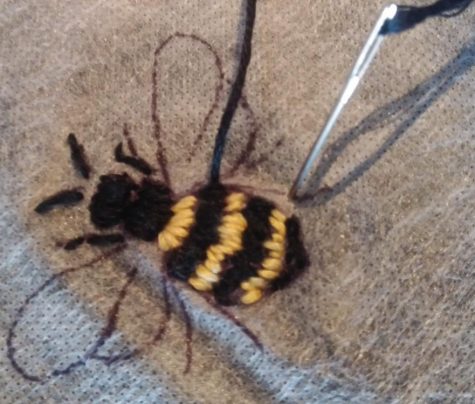
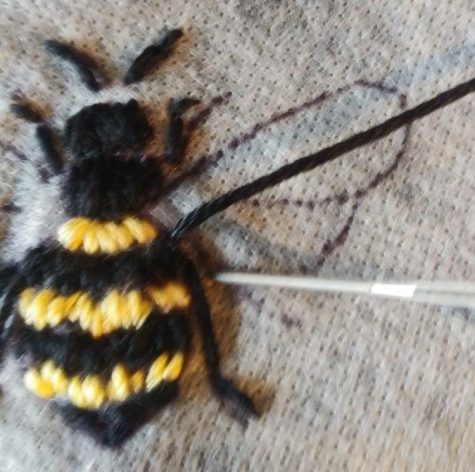
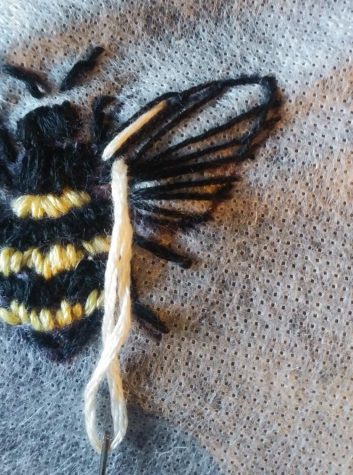
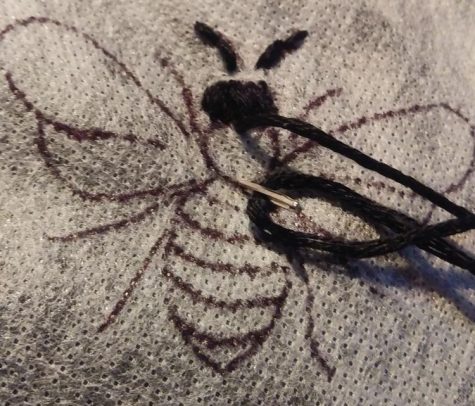
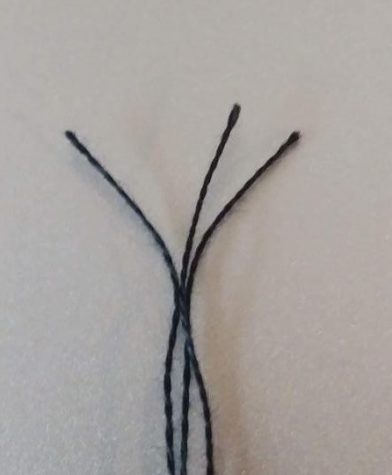
Step 7: For the wing, you’ll only use three of the six strings that the embroidery thread has. You’ll use less strings for more details. Enter the needle from the bottom up, and you will head the needle to a corner of the wing. Place the extra string that follows the needle on top, and gently pull the needle up making a tiny straight hoop. Continue doing this throughout both wings.
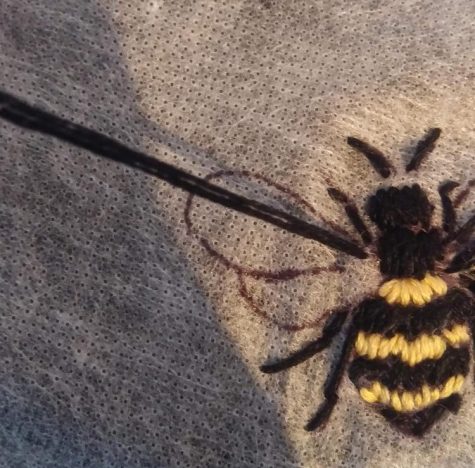
*Additional/optional step: Since I used a black fabric, I will need to use white thread for the wings to be more noticeable. I utilized 20 inches of white thread and the satin stitch technique to fill in the empty spaces.